Week 10 - Feature Testing and Development
Week 10 - Feature Testing Development, Extra Case Study
Acquisition of Lithium Battery and Charger
I bought some new parts to test as additional features for the prototype. They took a week to arrive and I've been spending the previous week understanding and working with the parts.
Cordless Drill Lithium Battery 12V 2.0 AHM


Microphone Testing
I spent some time testing the Electret Microphone separately during my free time, the outcome was good as it detected loud audio which is what I want. At the moment I'm trying to connect it to the speaker and mp3 player that it plays an audio whenever a loud sound is heard. I hoped to simulate a shocked or startled reaction.
Electret Microphone

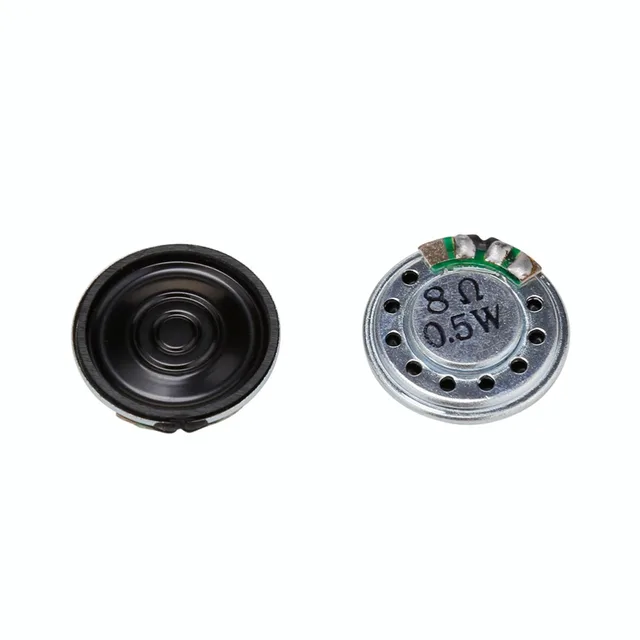
Speakers
Learning the new parts
I've spent time to check each individual part online, I found multiple guides online that help me understand each circuit part properly.
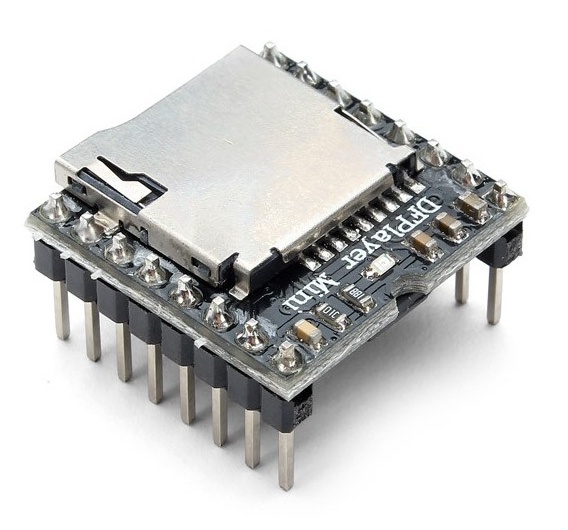
Below is a guide for what I've found of the MP3 player which has proven to be very helpful for me to reference when building the prototype.

I've also found a tutorial online for the Electret Microphone to detect loud audio, all thats left is to integrate the circuit into the prototype.

Lastly, I had no prior experience to fully understanding the L298N Motor Shield, so I found a tutorial online to better understand the circuit and wire placement. This has proven to be extremely helpful and beneficial to me.

Battery Holder 3D Modeling
I'm currently trying to 3D Model the design and shape for a battery holder to keep the Lithium Battery in check, there is a slight problem, that being I do not know how to curve the corners to fit the battery along with creating slits to add copper wires to connect the to the battery holder so it conducts and supplies power to the L298N Motor Shield.

Extra Case Study
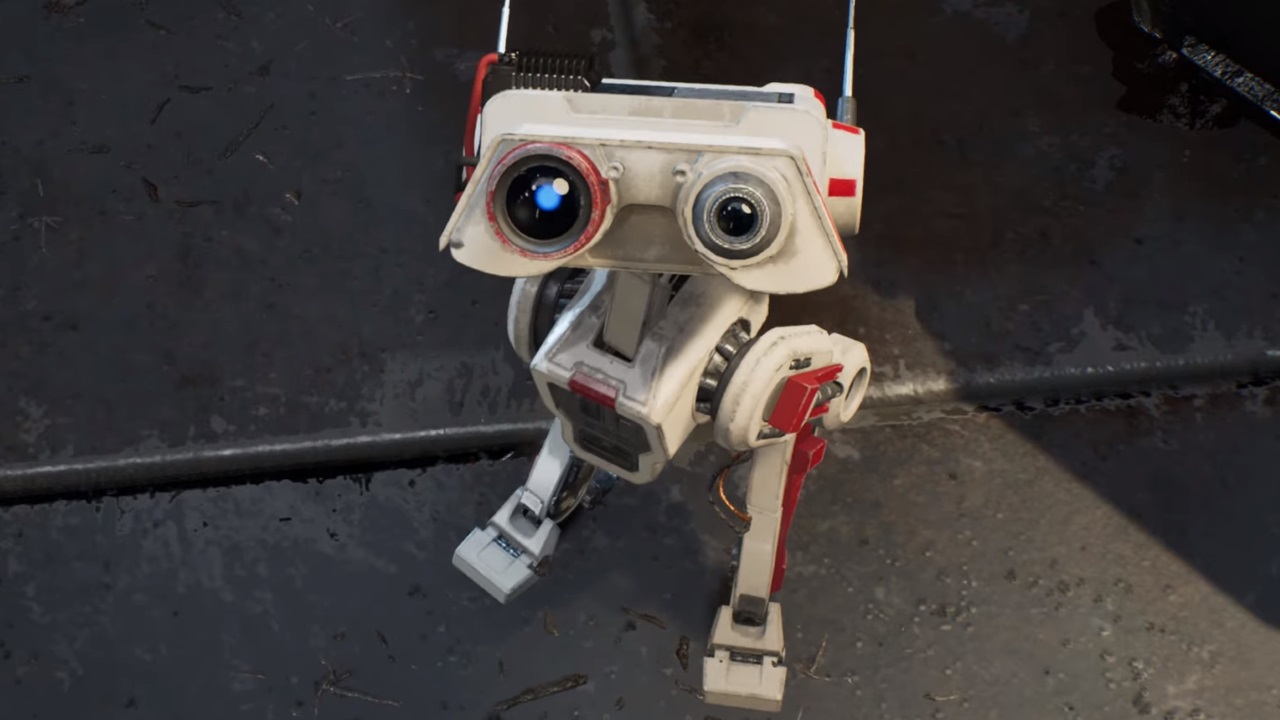
I found a reference for a homemade robot online with Arduino parts. LINK
What I've found online is that the robot design even though unrefined still looks polished and clean while demonstrating good craftsmanship. I plan to use this reference as a benchmark for how my prototype should function and look like.

What I particularly like about the robot is the simplicity but interesting design. The LED lights make which are a simple but fun addition to know if the robot is active which also shows an adorable side to its design when it changes colour. The moving head is genius and simple design using micro servos that I know I can implement into my design.
The visual design of the robot reminds me of a robot from Star Wars, I hope to reference this design and integrate it into my design.


Comments
Post a Comment